How to Make a Superhero Cape
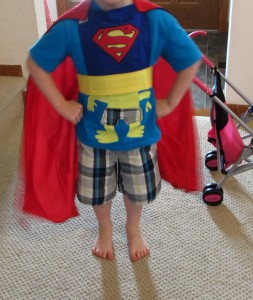
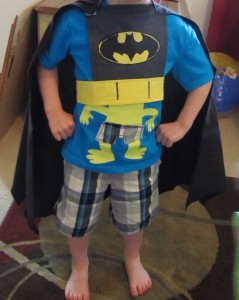
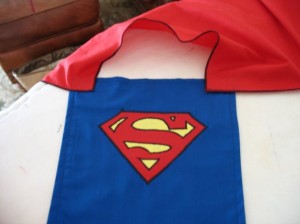
My son is suddenly quite obsessed with superheroes; particularly Superman. When my mom found out, she went into grandma mode and immediately made him capes. I thought these capes were such a genius idea, I needed to share them with all of you. I’m going to explain the directions with a Superman design, but you can change it up to make any Superhero.
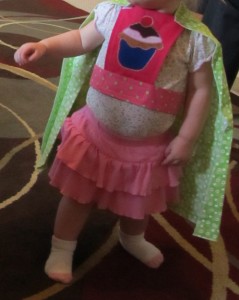
Or you can make up your own superhero…
How to make your own superhero cape!!
- Download the superhero emblem online by doing an image search.
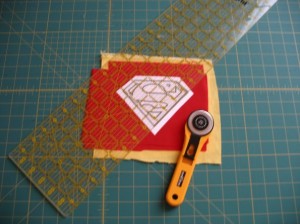
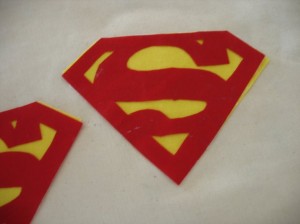
- Decide what size you want the emblem to be, and stack the emblem colors together (in Superman’s case, red then yellow) and two layers of double-stick fusible fabric sheets (like “Steam-A-Seam”). Then cut out the outer shape of the emblem.
- Iron the fusible sheet onto the back of the red emblem, and cut out the “S”
- Remove the paper backing and fuse the red to the yellow emblem.
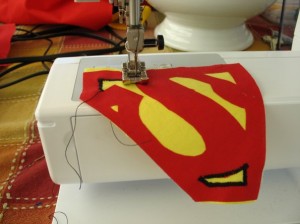
- Sew a satin stitch around the interior parts of the emblem.
- Fuse the other fusible sheet to the back of the emblem. You now have a Superman “S”!!
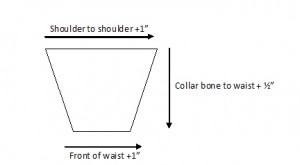
- To make the chest piece of the cape, you have to take measurements of the child. Measure the child shoulder to shoulder and add one inch. Measure from collar bone to waist and add one inch. Lastly, measure the front part of the waist (from side to side) and add one inch. This will give you a trapezoid shape.
- Cut the shape out and sew a 1/2″ hem around the sides and top (not the bottom). Iron the shape so it is flat.
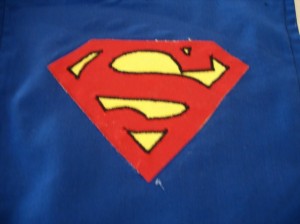
- Place the emblem in the desired location and fuse it to the trapezoid by removing the fusible sheet backing from the emblem and ironing it in place.
- Satin stitch around the emblem.
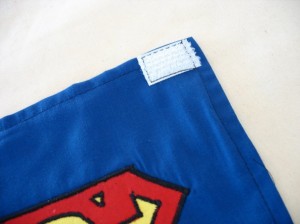
- Attach a piece of velcro on the upper forner of the front.
- If you have a serger, serge around the bottom raw edge. If not, sew a zig-zag stitch.
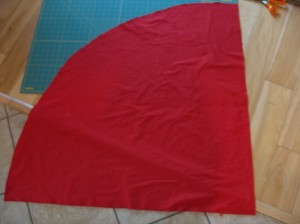
- To make the cape itself, Cut out a quarter circle of the desired length of the cape (measure from the top of the child’s neck to however far down you want the cape to go).
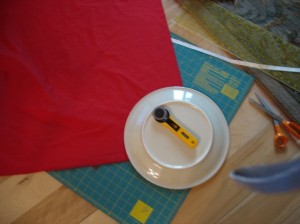
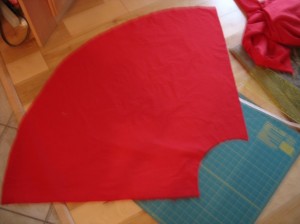
- Using a dinner plate as a guide, cut out a quarter circle from the tip of the cape (this will be the neck part). Serge or narrowly hem around the cape.
- Attach a piece of velcro on the top side of the cape that corresponds to the one on the front. Sew the other corner of the cape to the non-velcro corner of the front chest piece. (Make it secure by stitching a square).
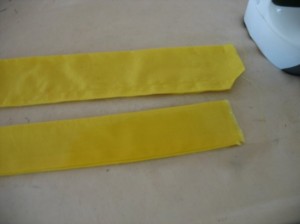
- To make the waistband, cut a 5″wide strip the same size as the child’s waist plus 4″ (1 inch for the seam, and 3 inches for the velcro overlay).
- Fold the belt in half length-wise and stitch closed the long raw edge, and one of the short sides (it will be like a long, skinny pillowcase). Pull it right-side-out thru the short unsewn edge. Iron and top stitch the short edge shut.
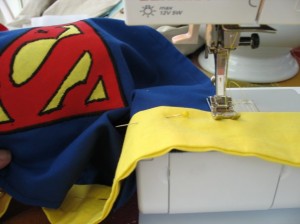
- Matching the middle of the front chest part to the middle of the waist band, lay the band on top of the chest piece, covering the raw edge. Stitch around in a square at least two times.
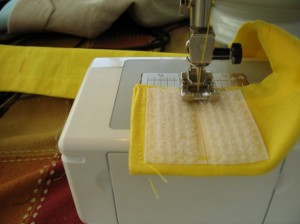
- Attach velcro on the ends of the waist band, so it will wrap around the child’s waist and attach in the back.

